Simplepush Blog
Monitor CO2 with your Raspberry Pi
This article explains how to connect a Raspberry Pi with a SCD30 sensor module and send push notification to your phone when the CO2 level rises above a certain threshold. While the SCD30 sensor module is not the cheapest, it is quite accurate and easy to use. In addition to the CO2 level, the SCD30 can measure temperature, humidity and works within a wide voltage range (between 3.3V and 5.5V).
In this article we will focus on the very basics of the SCD30. Check out this in-depth article about the SCD30, if you want to know more about what the SCD30 is capable of.
What you will need
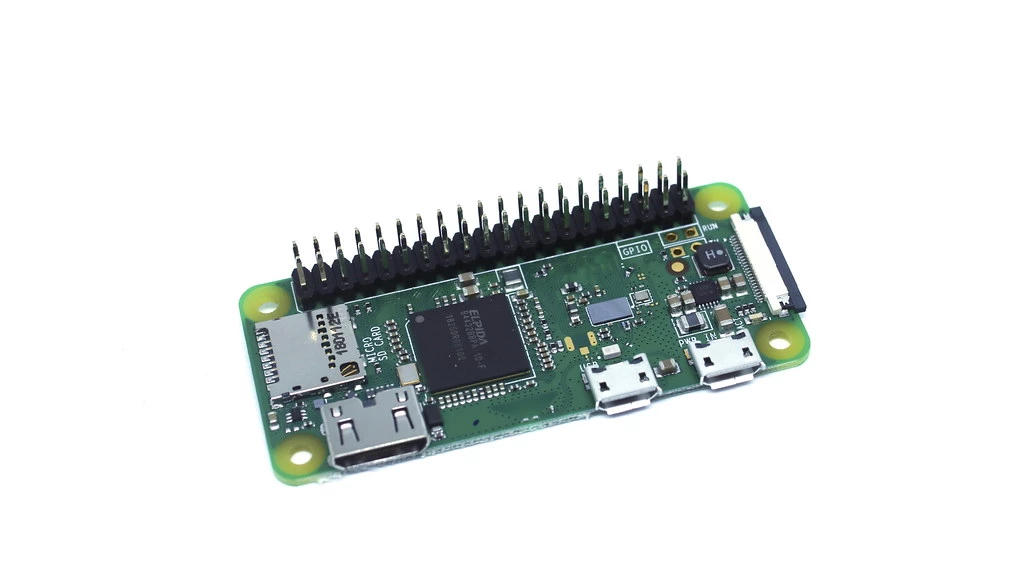
For this article we will use a Raspberry Pi Zero W but any Raspberry Pi can be used. If you choose another Raspberry Pi, make sure to buy the correct power supply for it.
- 1x Raspberry Pi Zero W
- 1x Raspberry Pi 12.5W Micro USB Power Supply
- 1x SCD30 sensor module
- 4x Wires to connect the Raspberry Pi and the SCD30 sensor module
If you don’t want to permanently solder everything together, consider to also buy a pin header for your Pi and the SCD30 module.
Connect Raspberry Pi and SCD30
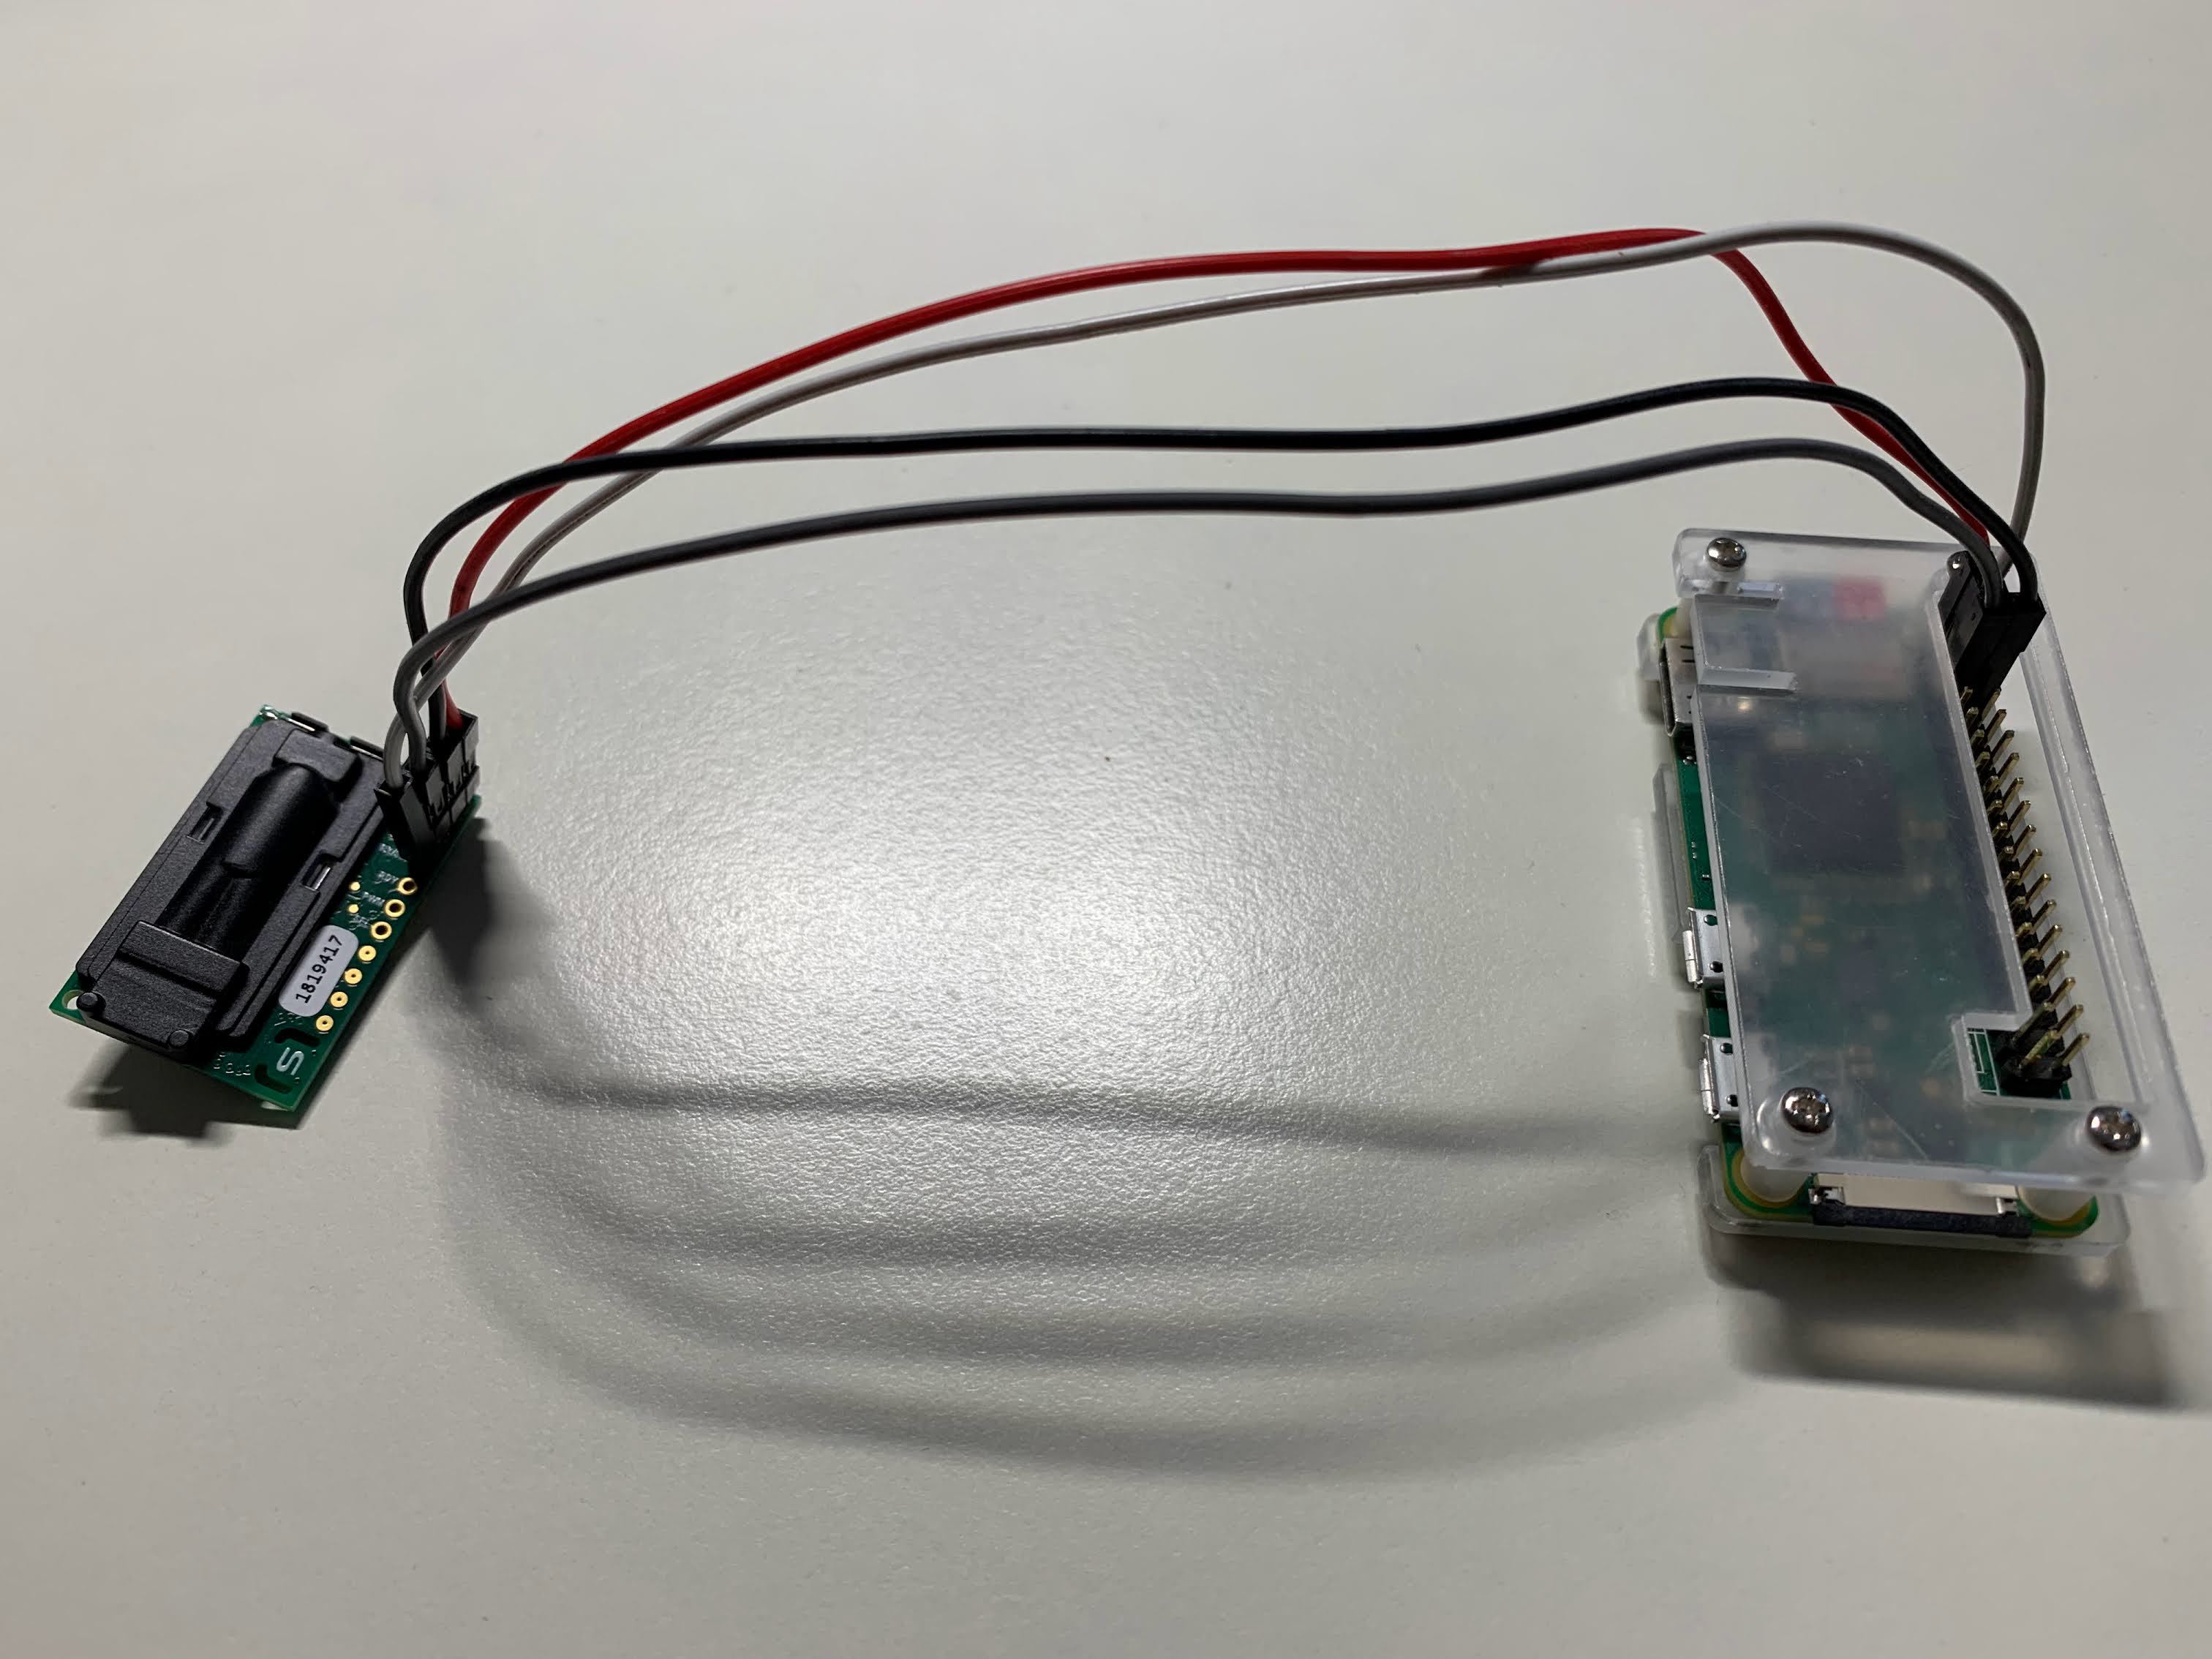
Let’s start by wiring the Raspberry Pi to the SCD30.
You need to connect the following pinouts:
- Raspberry Pi: SDA1 (I2C) ⟷ SCD30: RX/SDA
- Raspberry Pi: SCL1 (I2C) ⟷ SCD30: TX/SCL
- Raspberry Pi: 3.3V/5V ⟷ SCD30: VIN
- Raspberry Pi: GND ⟷ SCD30: GND
Click here to see the pin numbering for the Raspberry Pi Zero W and for other models.
Install requirements
Download Simplepush
Simplepush is an app for iOS and Android which lets you send push notifications to your phone from your Raspberry Pi. Simplepush also lets you send encrypted push notifications.
Download the app from Google Play or the App Store.
When you open the app for the first time, you will immediately get a six-digit key that identifies your phone with the Simplepush API. We will later need this key to send out an alert when the CO2 level rises above a certain threshold. Sending a notification with Simplepush is as simple as making an HTTP request.
Enable the I2C interface
I2C is a commonly used standard which gives modules, like the SCD30, the ability to talk to other devices that support the I2C standard.
In order to enable I2C on your Raspberry Pi enter the following command on your Pi:
sudo raspi-configThis will open the raspi-config utility where you need to select “Interface Options”.
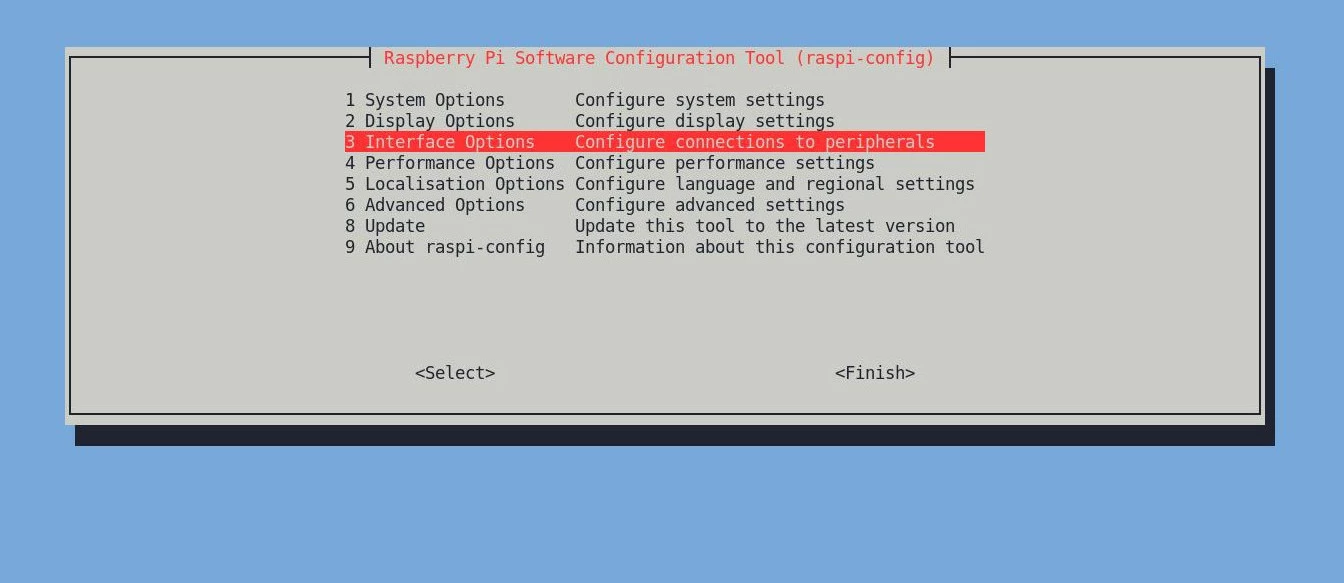
Then select the I2C option and select “Yes” once you get asked if the I2C interface should be enabled.

Read out SCD30 data
First we will need to install Python 3.
sudo apt install python3Then clone the following repository and follow the steps in its README.md. Since you already enabled I2C and wired everything together, you can ignore the first two steps and continue with installing required packages.
git clone https://github.com/tymm/Raspi-Driver-SCD30.gitOnce you finished all the steps and installed the SCD30 service on your Pi, you should be able to read out the sensor data from /run/sensors/scd30/last.
cat /run/sensors/scd30/last
gas_ppm{sensor="SCD30",gas="CO2"} 1215.47241211
temperature_degC{sensor="SCD30"} 20.16136169
humidity_rel_percent{sensor="SCD30"} 51.53808594
Calibrate the CO2 sensor
CO2 sensors have to be calibrated in order to give accurate measurements. The CO2 sensor of the SCD30 can work in automatic self-calibration (ASC) or forced re-calibration (FRC) mode.
In ASC mode the lowest measurements within a seven day period get assigned to 400ppm. Therefore for ASC mode to work well, the SCD30 should be exposed to fresh air regularly. The sensor also has to run without being turned off for the whole period to finish the self-calibration successfully.
For proper function of ASC field-calibration algorithm SCD30 has to be exposed to air with CO2 concentration 400 ppm regularly
— SCD30 Datasheet
If your sensor can’t be exposed to fresh air regularly, you need to manually calibrate the sensor in FRC mode. Since ASC mode is the default for the SCD30 and therefore the easiest to use, we will ignore FRC mode for now.
Send an alert
Now all that is left is creating the script that sends out a push notification once the CO2 level is above a certain threshold.
#!/usr/bin/env python3

from urllib import request, parse
import os
from time import time

# The Simplepush key where alerts should be sent to
SIMPLEPUSH_KEY = "YourSimplepushKey"
# Alert threshold in ppm
THRESHOLD = 1300
# Minimum time in minutes that needs to pass between two alerts
TIME_BUFFER_MINUTES = 30
TMP_FILE = "/tmp/co2-level-too-high.lock"

f = open("/run/sensors/scd30/last", "r")
data = f.read()
f.close()

co2 = int(float(data.split('\n')[0].split(' ')[1]))

if co2 > THRESHOLD and not os.path.exists(TMP_FILE):
    notification = parse.urlencode({'key': SIMPLEPUSH_KEY, 'title': 'CO2 level too high', 'msg': str(co2) + 'ppm', 'event': 'co2'}).encode()
    req = request.Request("https://api.simplepush.io/send", data=notification)
    request.urlopen(req)
    with open(TMP_FILE, "a") as f:
        f.write(str(time()))
elif co2 <= THRESHOLD and os.path.exists(TMP_FILE):
    with open(TMP_FILE, "r") as f:
        last_alarm_timestamp = float(f.read())
        if last_alarm_timestamp + TIME_BUFFER_MINUTES * 60 < time():
            os.remove(TMP_FILE)
Save the script to /usr/local/bin/co2-alert.py and make it executable.
Replace YourSimplepushKey with the key that you got when installing the Simplepush app on your phone.
wget https://gist.githubusercontent.com/tymm/d07547b84c29656db63596066ccf142f/raw/ee2d53bf263c31778837af2e48e1a9f9d7fee49c/co2-alert.py
mv co2-alert.py /usr/local/bin/
chmod +x /usr/local/bin/co2-alert.py
Create a cronjob for the CO2 alert script
Add a cronjob that runs every five minutes:
crontab -eAppend the following to the end of your cronjob file:
*/5 * * * * /usr/local/bin/co2-alert.py
After saving the cronjob file, the script runs every five minutes and sends out a notification when the CO2 level is above the defined threshold.
Share on: